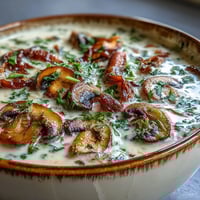
 Save to Pinterest
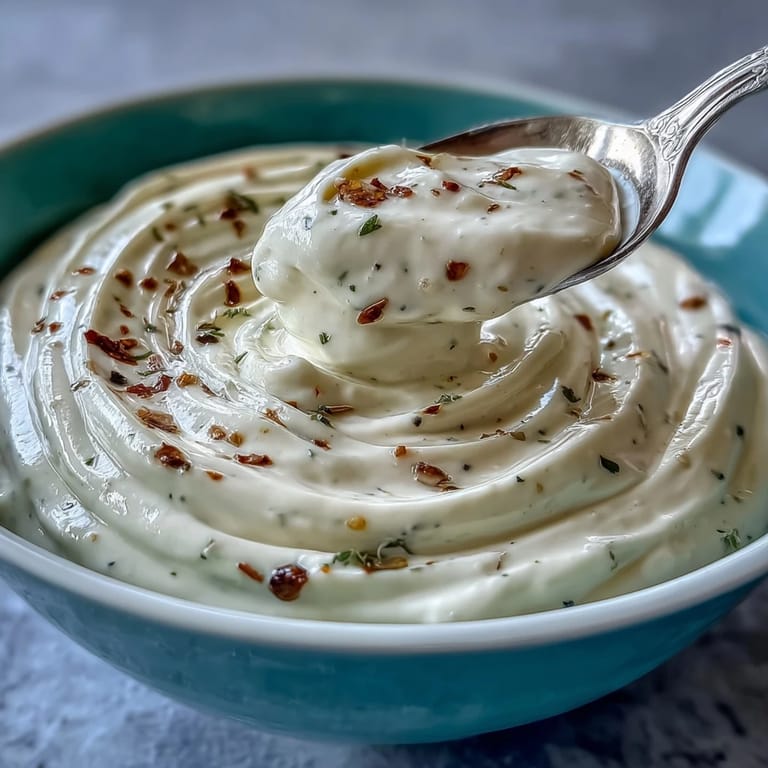
 The first time garlic aioli really caught my attention wasn't in a fancy restaurant, but in a sunlit kitchen one afternoon when my roommate whipped it up beside a pile of golden fries. The scent of garlic swirling through the air was impossible to ignore and I remember wondering how something so simple could smell so captivating. We joked about the whisk's relentless workout and the anticipation somehow made the dip taste even better. Sometimes, the smallest culinary projects bring the most satisfaction. Now, aioli is my secret weapon for elevating all sorts of snacks and sandwiches.
I once made a batch for a casual picnic and wound up fielding requests for refills all afternoon. Watching everyone dip their chips and vegetables, I realized how a simple homemade sauce can turn a laid-back meal into a memory. Even my skeptical friend admitted it was worth the effort after tasting that tangy garlicky kick. I kept the jar close at hand and almost ran out by the end of the day. That picnic was when aioli became a staple for every gathering.
Ingredients
- Egg yolk: Using a room temperature yolk makes the emulsification process much smoother—I always separate it gently with clean hands to avoid breaking the yolk.
- Dijon mustard: Sneaks in a subtle zing, and helps the mayonnaise stay stable; a little goes a long way here.
- Fresh lemon juice: Brightens the whole mixture and acts as both flavor and an emulsifier; fresh squeezed is crucial for full effect.
- Neutral oil (sunflower or canola): I love using sunflower oil for its mild flavor; always add the oil dropwise at first to avoid splitting the mixture.
- Garlic cloves: The heart of aioli, and I prefer to grate them for an even, intense flavor—adjust quantity for more or less punch.
- Sea salt: Enhances all the fresh ingredients; sprinkle gradually and taste as you go.
- Freshly ground black pepper: Offers a gentle heat and rounds out the aioli; grind right before adding for the best aroma.
Tired of Takeout? 🥡
Get 10 meals you can make faster than delivery arrives. Seriously.
One email. No spam. Unsubscribe anytime.
Instructions
- Whisk the base:
- In a medium bowl, combine the egg yolk, Dijon mustard, and lemon juice. Whisk until smooth and slightly thick, feeling for the consistency as it gets creamier under your hand.
- Start the emulsion:
- Add a drop or two of oil at a time, whisking constantly. The mixture will start to thicken and get glossy as it comes together—don't rush or it may split.
- Continue blending:
- Once the base is forming, pour the oil in a thin, steady stream while whisking vigorously. You'll notice the aioli getting lighter and fluffier as you work.
- Flavor it:
- Mix in the minced or grated garlic, salt, and black pepper. Open your senses—the aroma of fresh garlic will bloom right away.
- Taste and finish:
- Spoon up a bit and check for seasoning, adjusting salt or lemon juice if needed. Once you're happy, transfer the aioli to a jar or bowl and chill for up to three days.
 Save to Pinterest
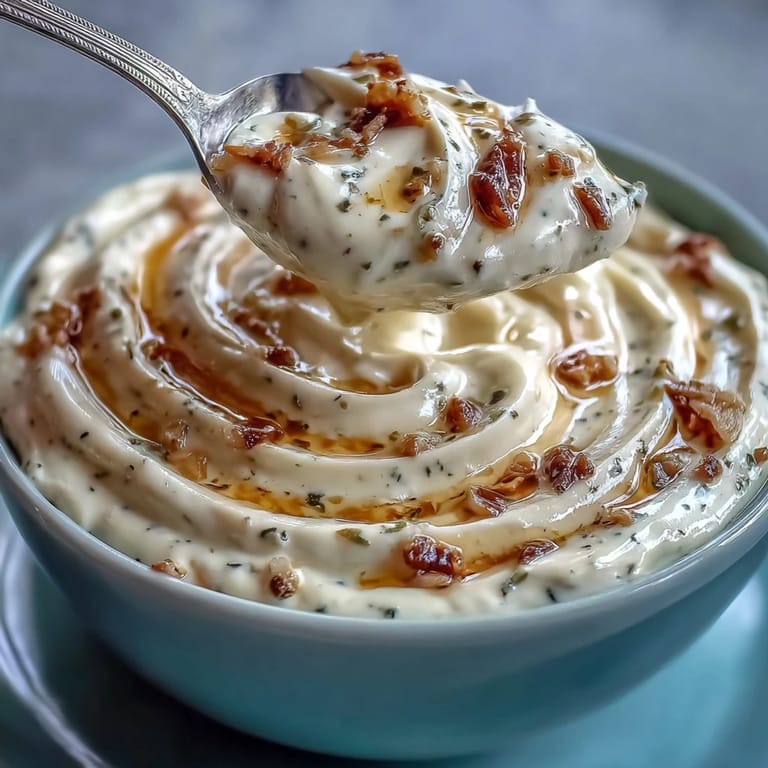
 Sharing a bowl of aioli with friends during game night somehow made the snacks feel more festive. Every dip and crunch sparked jokes and little moments, turning the dip into an unexpected centerpiece. Somehow, it became a topic of conversation rivaling the game itself. Even the quietest guests couldn't resist coming back for seconds. Sometimes a homemade sauce can create warmth that outlasts the food itself.
How to Adjust Garlic Intensity
After experimenting with both raw and roasted garlic, I found that the method really alters the aioli's personality. Roasted cloves yield a sweet, mellow flavor, while raw garlic delivers a sharp punch. When cooking for kids or spice-sensitive guests, roasted garlic is my go-to. For bold flavors, a fresh clove or two brings zip. Swapping varieties keeps each batch exciting and suited to the crowd.
Ways to Use Aioli Beyond Dipping
Aioli is a quick fix for bland sandwiches, fish tacos, and grilled vegetables. I once spread it over crusty bread and topped it with roasted eggplant, which made for a lunchtime revelation. It stands in for mayo wherever you want a flavorful upgrade. Drizzling it on seafood or burgers brings out a touch of Mediterranean flair. There's always a reason to keep a jar handy!
Troubleshooting Homemade Aioli
One batch of aioli split on me at the last minute and I panicked, but patience (and a fresh yolk) saved the day. If your mixture breaks, just start a new yolk and slowly mix in the failed aioli to revive it. Sometimes, the emulsion just needs a bit more coaxing and constant whisking. A chilled bowl helps during summer or if your kitchen is warm. Keep these lessons in mind whenever you try homemade sauces.
- If your aioli is too thin, whisk harder and drizzle in a bit more oil.
- Always taste for lemon and salt—adjust both little by little.
- Store in a glass jar for best freshness and flavor.
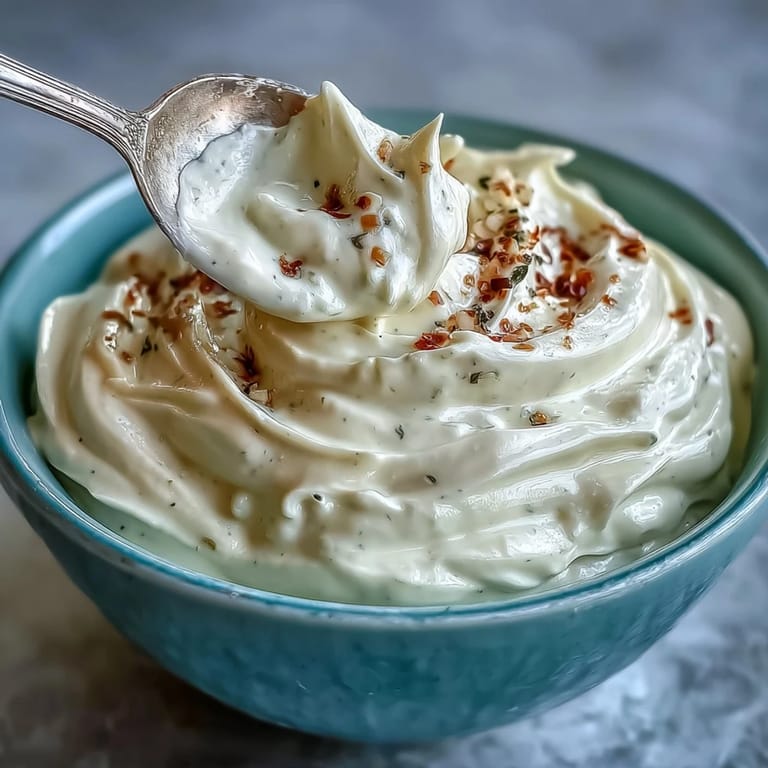 Save to Pinterest
 There is something delightful about hearing guests rave after just a single taste—aioli has that magic. Keep this recipe ready for impromptu picnics or cozy nights in!
Recipe FAQs
- → What oil works best for garlic aioli?
Neutral oils like sunflower or canola yield the smoothest consistency and preserve the garlic flavor.
- → How do I avoid my aioli splitting?
Incorporate the oil very slowly at first, whisking constantly. Steady streaming helps maintain emulsification.
- → Can I make it without eggs?
Try using aquafaba as an egg substitute and slightly increase the mustard for proper emulsification.
- → How strong is the garlic flavor?
Raw garlic yields intense flavor; roasted garlic offers a milder profile and is smooth in texture.
- → Is this suitable for gluten-free diets?
Yes, garlic aioli contains no gluten. Be sure to check mustard or oil labels for hidden additives.
- → How long can homemade aioli keep?
Store covered in the refrigerator for up to three days to maintain freshness and safe consumption.