 Save to Pinterest
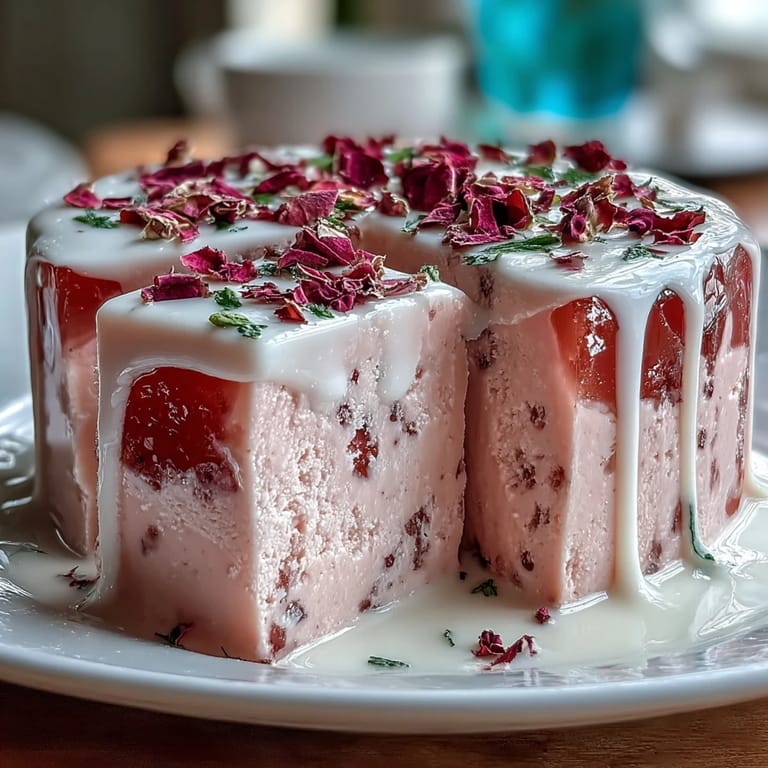
 The first time the scent of rose water mingled with simmering milk in my kitchen, it caught me off guard—a sweet, heady perfume in the middle of an otherwise ordinary Sunday. I hadn’t planned to make anything fancy, just wanted to play with the last of the spring strawberries and a stash of colorful gelatin packets. The idea of a mosaic cake popped into my mind after seeing a photo online, and I couldn&rsquot resist improvising my own with a swirl of cream and delicate cubes set like jewels. Now whenever sunlight pours into my kitchen, I remember that moment of curiosity leading to this dazzling, cool dessert. Somehow, the aromas always remind me to expect a little magic when I mix things up.
I once made this mosaic cake for a friend’s birthday gathering—not because it was fancy, but because we both craved something bright and different after a long week. The whole kitchen was filled with laughter and the gentle clatter of bowls as we debated whether to add extra rose water or not; in the end, we went with intuition. When we finally unmolded the shimmering cake, everyone leaned closer, oohing at the confetti of pink and red. The room was suddenly full of questions and delighted forks—no one expected gelatin to be the star of the party.
Ingredients
- Strawberry-flavored gelatin: Using a flavored packet guarantees vibrant color and flavor; I always dissolve it slowly so it stays clear and sets firmly.
- Unflavored gelatin: This sets both the rose and cream layers without competing flavors; letting it bloom properly in cool water is the key to avoiding lumps.
- Rose water: Just a spoonful turns the rose gelatin from ordinary to intoxicating—taste it before adding more, some brands are stronger than others.
- Pink food coloring (optional): Just a drop is enough for a romantic, pastel hue.
- Granulated sugar: Dissolving the sugar entirely prevents graininess in the rose layer.
- Whole milk: The richer the milk, the silkier your cream base will be; don’t use skim here.
- Heavy cream: This, with condensed milk, makes the base luxuriously smooth and balances the sweetness.
- Sweetened condensed milk: Adds depth and a hint of caramel; I prefer to stir it in once the heat is off to maintain its silkiness.
- Vanilla extract: Always choose pure extract—the little warmth it adds ties everything together.
Tired of Takeout? 🥡
Get 10 meals you can make faster than delivery arrives. Seriously.
One email. No spam. Unsubscribe anytime.
Instructions
- Set the Strawberry Gelatin:
- Combine the strawberry gelatin packet with boiling water in a mixing bowl and stir until smooth and clear. Pour into a shallow dish and chill until firm, about an hour.
- Prepare the Rose Layer:
- Allow the unflavored gelatin for the rose layer to bloom in a bit of cool water, then dissolve sugar in simmering water in a saucepan. Off the heat, stir in the bloomed gelatin, fragrant rose water, and a touch of pink coloring, swirling gently before pouring into another dish to set.
- Cube the Gelatins:
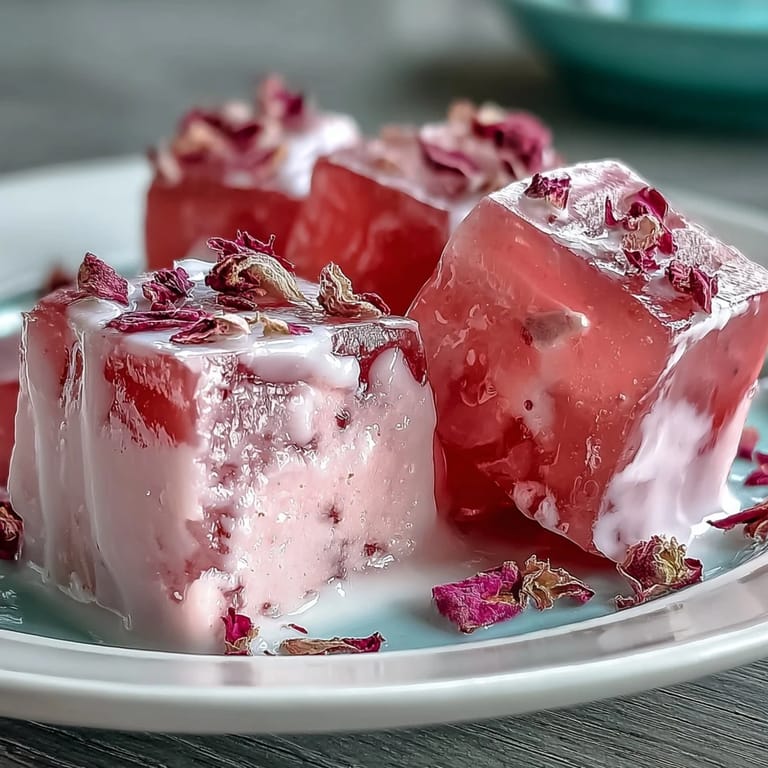
- Once firm, slide a sharp knife through both set gelatins, cutting them into lively, shining cubes about 1 or 2 centimeters wide.
- Make the Cream Base:
- Bloom the remaining unflavored gelatin in cold water; meanwhile, gently heat the milk and cream just until bubbles start forming around the edge. Off heat, whisk in gelatin, condensed milk, and vanilla, letting the mixture cool until it's no longer hot but still pourable.
- Assemble the Mosaic:
- Arrange the alternating strands of strawberry and rose cubes in a lightly greased 10-inch bundt or ring mold, making sure there are colors throughout. Give the mold a gentle shake to nestle the cubes in an inviting jumble.
- Add the Cream:
- Pour the cooled cream base over the gelatin cubes, pausing to let bubbles rise and tapping the mold to avoid gaps.
- Chill to Set:
- Let everything chill in the refrigerator for at least 3 to 4 hours; the waiting is the hardest part.
- Unmold Like a Pro:
- When ready, briefly dip the mold in warm water, then swiftly invert onto a serving platter. Slice gently with a sharp knife and serve the cake cool to the touch.
 Save to Pinterest
  Save to Pinterest
 One summer evening, I stood by the fridge with friends, trading favorite dessert stories as we snuck a wobbly, jewel-bright sliver straight from the pan. The sun was dipping low but the cake felt like a sunrise on our plates, and an ordinary night suddenly seemed extraordinary—proof that something as simple as gelatin can turn into celebration.
Making It Your Own
Once you&rsquot mastered the basic technique, this mosaic cake becomes a blank canvas for whatever flavors inspire you. I&rsquot added orange zest to the milk, or even layered in cubes of passionfruit gelatin for a summery twist—the combinations are endless. If you prefer elderflower to rose, swap the syrup in and watch how the aroma changes the mood entirely. The real fun comes from mixing and matching colors, flavors, and toppings every time you make it.
How To Get It Out Of The Mold Cleanly
Unmolding can be nerve-wracking, especially with such a showy cake—I&rsquot had my share of mishaps. Always use a mold with smooth sides for the cleanest look, and run a thin knife around the edge to help loosen it. Briefly dipping the mold in warm (not hot) water releases the cake without melting it. If in doubt, invert it over your serving plate while channeling confidence rather than fear.
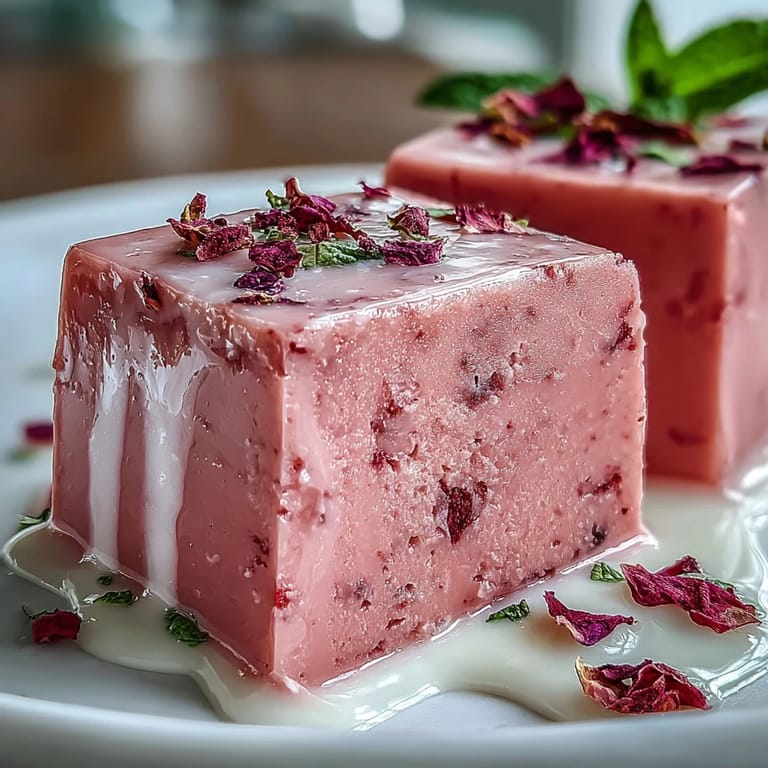
Adding Flair and Final Touches
If you want that bakery-worthy finish, top the cake with a scatter of fresh strawberries and edible rose petals just before serving. A dusting of powdered sugar or a spray of delicate gold leaf takes it up another notch for special occasions. But more often than not, the shimmering mosaic alone steals the spotlight.
- Have your serving plate ready before unmolding for a smooth transfer.
- A thin, sharp knife keeps the cut edges clean and the cubes intact.
- Don't skip chilling—patience means perfect, neat slices.
 Save to Pinterest
  Save to Pinterest
 Whether you're celebrating something big or just bringing some joy to your table, this mosaic cake proves dessert can be both playful and elegant. Here&rsquos to making your own little moments of wonder, slice by shimmering slice.
Recipe FAQs
- → How do I stop the gelatin cubes from bleeding color when mixed?
Make sure each gelatin is fully set and well chilled before cutting. Pat the cubes dry on paper towels to remove surface moisture and handle them gently. Fold cubes into the mold just before pouring the cool cream base to minimize dissolved edges and color transfer.
- → Can I use agar-agar or other vegetarian gelling agents?
Agar-agar and other plant-based gelling agents behave differently: they set firmer and at higher temperatures. If substituting, follow the manufacturer's conversion and note texture changes. Some commercial vegetarian gelatin blends mimic the mouthfeel of gelatin more closely—test a small batch first.
- → What’s the best way to unmold without cracking the cake?
Dip the mold briefly in warm water for a few seconds to loosen the edges, then invert onto a plate. Avoid soaking the mold. If edges cling, run a thin offset spatula around the mold before inverting and handle the cake gently to preserve the shape.
- → How long will the finished cake keep in the refrigerator?
Stored covered, the chilled gelatin cake keeps well for 2–3 days. After that the gelatin may start to weep and dairy flavors can dull. Add fresh berries and delicate garnishes just before serving for best appearance.
- → Any tips for infusing extra flavor into the cream base?
Gently warm the milk with sliced fresh strawberries or a strip of orange zest to extract flavor, then strain before adding bloomed gelatin. Do not boil after adding gelatin—heat should be just warm enough to dissolve it so the cream remains silky.
- → How can I get neat, uniform gelatin cubes and an even mosaic?
Use shallow dishes with even depths to set gelatins, then cut with a sharp knife into 1–2 cm cubes. Chill the cut cubes briefly to firm up edges, and arrange them evenly in the mold—alternate colors for a balanced mosaic and tap the mold lightly to settle cubes before pouring the cream.