 Save to Pinterest
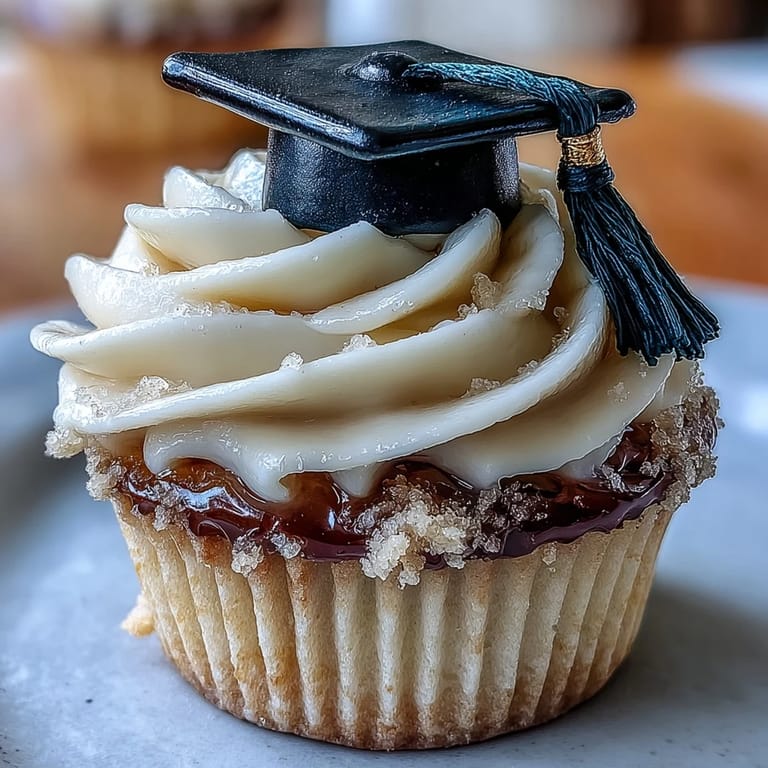
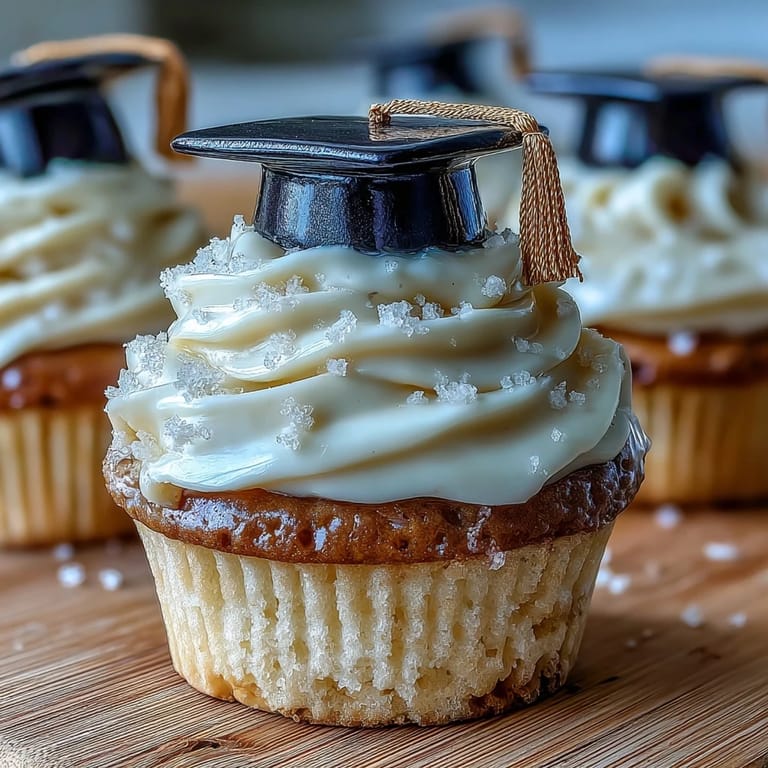
 Some recipes are less about tradition and more about pure celebration, and these graduation cupcakes are exactly that. The first time I whipped these up, my kitchen was filled with late-afternoon sunlight, and every surface had a gentle dusting of gold shimmer from brushing the fondant caps. Watching the cupcakes transform from a simple vanilla base to a parade of black and gold was surprisingly satisfying. Friends kept sneaking in to swipe bits of leftover buttercream, which ended up being more of a communal activity than I'd planned. There's just something unbeatable about the hush right before you unveil these at a graduation party and hear the delighted gasps.
I remember the morning of my cousin’s graduation, when I was in the kitchen piecing together fondant tassels while my family quizzed each other on ceremony protocol at the table nearby. The air buzzed with excitement, and the cupcakes ended up being the first thing people spotted as they walked in—everyone wanted to know how the tiny caps were made.
Ingredients
- All-purpose flour: The backbone of the cupcakes—make sure to spoon and level so they stay light.
- Baking powder: This creates the rise; never skip sifting for even distribution.
- Salt: Just enough sharpens the sweetness—I've learned not to leave it out.
- Unsalted butter: Allows control of saltiness and lends richness to both cupcake and frosting. Bring it to room temperature for ultimate fluffiness.
- Granulated sugar: Gives structure and a tender crumb; creaming thoroughly with butter is key.
- Eggs: Provide moisture and stability; crack them in individually to avoid shell disasters.
- Vanilla extract: Deepens the flavor—if you've got real vanilla, now's the time to use it.
- Whole milk: Adds tenderness, but you can swap for any milk if needed.
- Powdered sugar: Essential for silky buttercream; sift to avoid those pesky lumps.
- Cornstarch: Makes rolling fondant frustration-free—just dust lightly.
- Black fondant: Brings drama to the caps; keep it covered to prevent cracking.
- Gold fondant: For impressively festive tassels—soften with a quick knead if stiff.
- Edible gold dust (optional): Takes the shine factor up a notch; apply it with a fluffy brush.
- Edible adhesive or water: A little goes a long way on fondant—too much and you'll get a sticky mess.
Tired of Takeout? 🥡
Get 10 meals you can make faster than delivery arrives. Seriously.
One email. No spam. Unsubscribe anytime.
Instructions
- Get Your Tools and Prep Ready:
- Line a muffin tin with cheerful cupcake liners and set your oven to 350 F—the anticipation starts now.
- Mix the Dry Ingredients:
- Whisk together flour, baking powder, and salt until everything looks evenly speckled and lump-free.
- Cream Butter and Sugar:
- Beat the butter and sugar until it looks almost pale and airy, which is where that signature tender crumb starts.
- Add Eggs and Vanilla:
- Drop in eggs one at a time with a gentle beat before splashing in the vanilla—catch the scent shift from buttery to sweetly aromatic.
- Combine Wet and Dry:
- Alternately add dry mix and milk, gently folding until the batter is just blended and no streaks remain.
- Bake the Cupcakes:
- Scoop into liners and bake for about 20 minutes until the tops spring back when pressed—your kitchen will smell like vanilla clouds.
- Make the Buttercream:
- Whip butter, powdered sugar, milk, vanilla, and salt into billows of frosting; go for the texture of smooth clouds, then pile or swirl generously atop cooled cupcakes.
- Shape the Fondant Caps:
- Roll, cut, and craft black fondant squares and bases; attach pieces with the tiniest dab of adhesive or water so they don’t slide off.
- Finish the Tassels:
- Twist skinny gold ropes and tiny buttons, press on with a careful hand, and dust tops with gold for celebratory sparkle.
- Decorate and Serve:
- Place caps atop frosted cupcakes—step back and admire—then serve to a chorus of oohs and aahs.
 Save to Pinterest
  Save to Pinterest
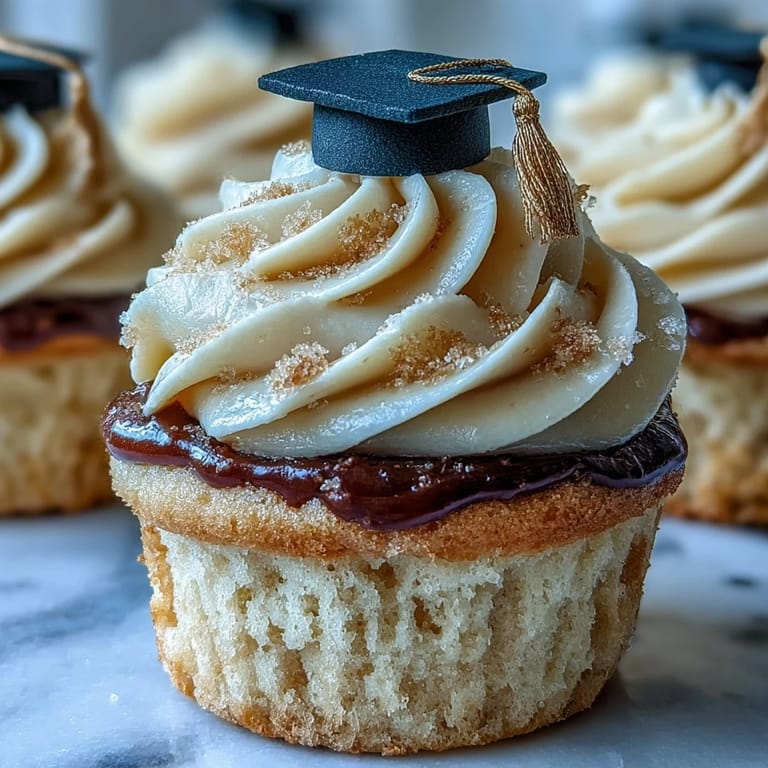
 When I watched friends posing for pictures with cupcakes in hand—some with sticky thumbs from smudged buttercream—it struck me how food can turn milestone days into true celebrations. Those little black and gold caps weren’t just decorations; they sparked laughter and helped the day feel extra festive.
Making the Fondant Caps Without Fuss
At first I worried the fondant would be a struggle, but after dusting the counter with cornstarch and warming the fondant between my hands, the pieces came together quickly. If the fondant feels stubborn or too soft, popping it in the freezer for a minute makes it much easier to handle—don’t be afraid to improvise a bit with the shapes.
Keeping Buttercream Light and Fluffy
Once, I added powdered sugar too quickly and ended up in a blizzard of white dust—lesson learned. Go slowly, whip at medium speed, and taste as you go; sometimes an extra pinch of salt or a splash more vanilla makes all the difference for that bakery-style finish.
Troubleshooting and Last-Minute Tweaks
You can prepare the cupcakes the day before and frost them just before serving—no one will ever know. Swapping in chocolate cupcakes works perfectly for cocoa lovers. If you notice the fondant getting sticky, a little extra cornstarch on your hands solves it instantly.
- If your buttercream is too soft, refrigerate it for ten minutes to firm up before piping.
- Keep a damp cloth nearby for wiping rogue frosting off your work surface.
- Save a cupcake or two to tuck away—there's always someone grateful for a sweet surprise later.
 Save to Pinterest
  Save to Pinterest
 Let the caps go a little crooked and embrace a few stray sprinkles; it’s these moments that make kitchen celebrations memorable. Whether honoring a milestone or just playing with fondant for fun, these cupcakes turn any day into something bright.
Recipe FAQs
- → How do I keep the cupcakes moist?
Use room-temperature butter, avoid overmixing once the dry ingredients are added, and remove from the oven as soon as a toothpick comes out clean. Brushing warm cakes with a light simple syrup adds extra moisture if desired.
- → How can I achieve a smooth, pipeable buttercream?
Beat butter until pale and fluffy, add sifted powdered sugar gradually, and thin with small amounts of milk to reach the right consistency. Scrape the bowl often and beat until silky for clean piping.
- → Any tips for working with fondant caps?
Dust your surface lightly with cornstarch to prevent sticking, knead fondant until pliable, roll to an even thinness, and use a small cutter for uniform squares. Attach pieces with a dab of water or edible adhesive.
- → How should I store and make these ahead of time?
Store frosted cupcakes in an airtight container at room temperature for a day. Keep fondant caps separate in a cool, dry place and assemble on the cupcakes shortly before serving to preserve texture and shine.
- → Can I swap ingredients for dietary needs?
Yes — use dairy-free butter and plant milk to make a vegan-friendly version, and check fondant labels for hidden ingredients. Egg replacers can be used, but expect slight texture changes.
- → How do I get a brighter gold finish on the fondant?
Brush fondant with edible gold dust mixed with a little clear food-grade alcohol or lemon extract for a metallic sheen, or use a purpose-made edible luster spray for even coverage.